(Last updated on January 9th, 2023)
Today’s guide is about removing the Malwarebytes Anti-Malware program from your system. You may need to disable or uninstall the program for many reasons, including a switch to another antivirus product, or maybe you’re facing issues with Malwarebytes.
In any case, you can use the step-by-step methods given below to turn off this software on your device.
Uninstalling Malwarebytes from Windows Device using Settings App
Follow the steps given below to remove the Malwarebytes software from Windows 10.
Step 1: Click the Windows logo (Start Icon)from the bottom-left corner of your

Step 2: Click on the Settings icon, which is the gear-shaped image located towards the lower-left side of the Start menu.
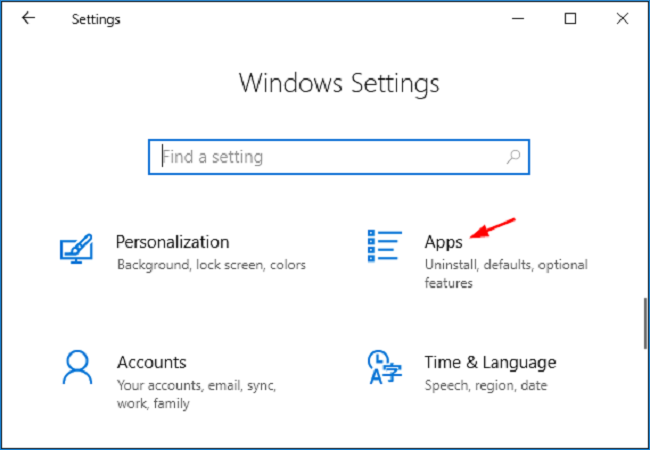
Step 3: In the pop-up window, go to Apps and press Enter.
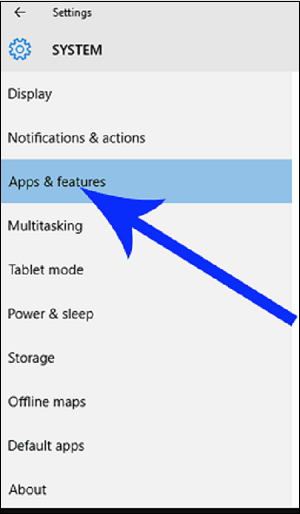
Step 4: On the left-side pane, you’ll find Apps and features tab right under the heading “Apps”. Click on it.
Step 5: Under “Apps and features”, scroll down the list till you find Malwarebytes with its version mentioned next to it. Click on it to expand the app menu.
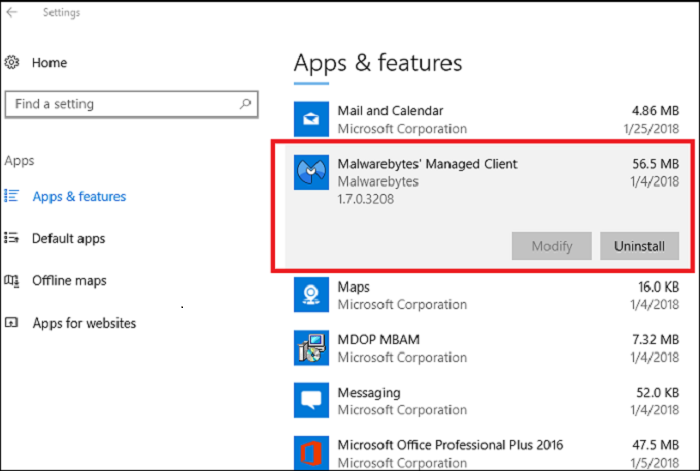
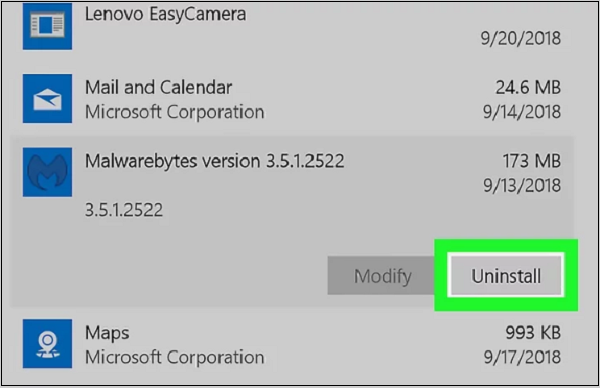
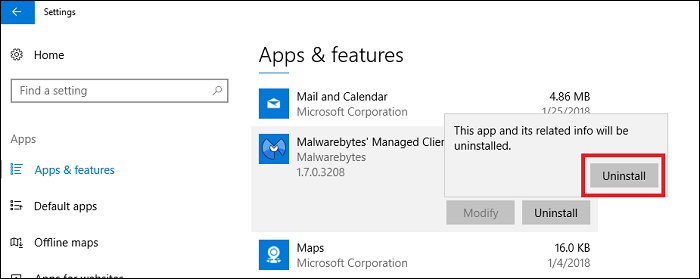
Step 6: Now click on the Uninstall button that will appear on the lower-right in the highlighted area.
Step 7: Another pop-up message will appear to make sure you want to uninstall the program. Click on Uninstall once again.
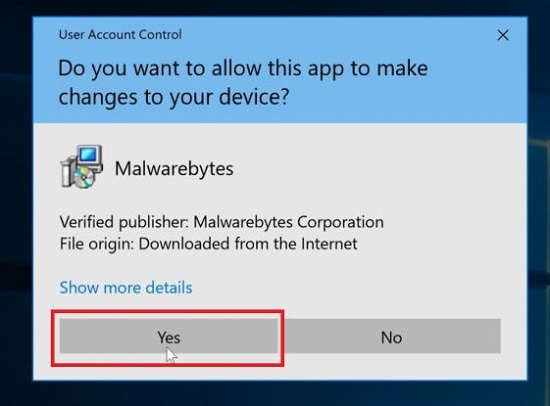
Step 8: Next, another message will appear from Windows confirming to go ahead with this move, asking, “Do you want to allow this app to make changes to your device?” – Click Yes.
Step 9: Next, the Malwarebytes setup program will ask for confirmation. Click Yes again.
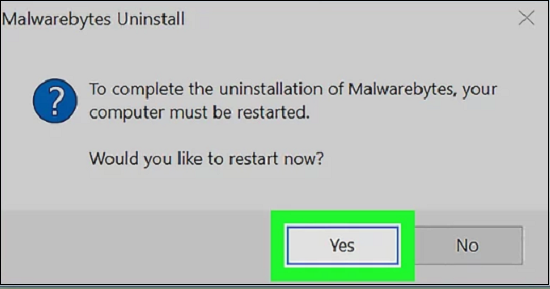
Step 10: Once the setup informs you that the uninstallation process is complete, a message will appear asking to Restart your computer. Click Yes.
Step 11: When you’re back from the restart, open This PC either from Desktop or Windows Search bar.
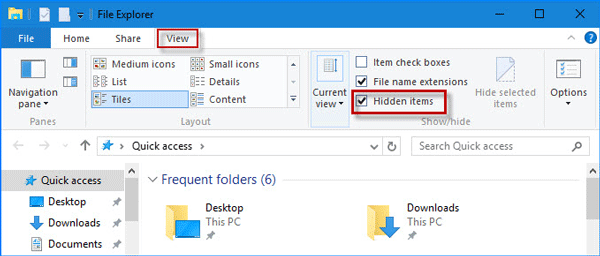
Step 12: When the window opens, click the View tab from the top menu. Go to the “Show/hide section” of the toolbar and check the Hidden Items box.
Step 13: Next, go to the search bar and type in Malwarebytes and hit Enter.
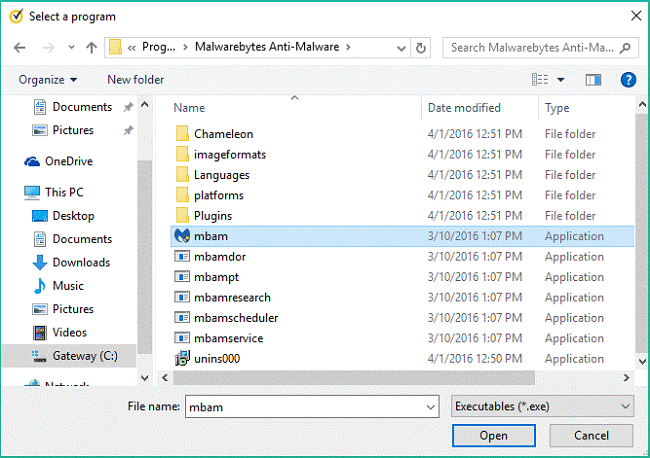
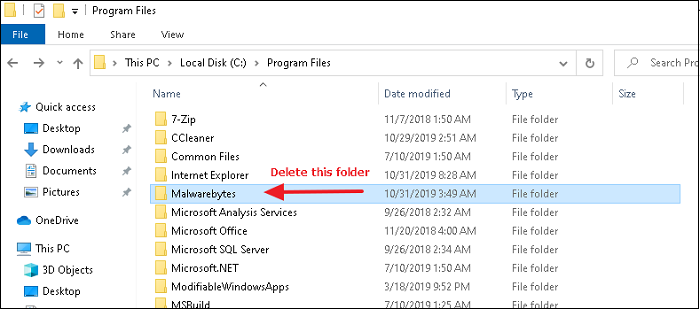
Step 14: Select all the files with the word “Malwarebytes” in it and press the Delete button.
Step 15: Now close this window and go to Recycle Bin, which you can either access from Desktop or Windows Search bar.
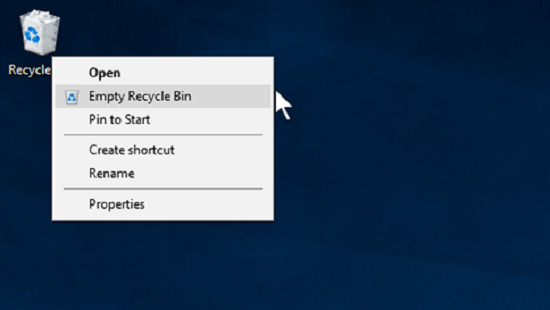
Step 16: Empty Recycle Bin.
Step 17: Once again, Restart your computer to apply the new changes.
Uninstalling Malwarebytes from Windows Device using Malwarebytes Anti-Malware Cleanup Utility
You can also use the Malwarebytes Anti-Malware Cleanup Utility to remove the software from your PC. You should go for this method if you strictly want all traces of the program gone from your system.
If you use the Settings App to remove the malware software, some bits and pieces of the program might still stay on your computer in the form of leftover files or Registry Keys. So, if you want those gone as well, follow the steps given below.
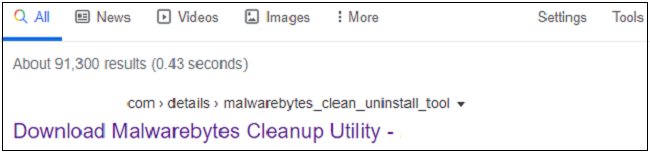
Step 1: Download the Cleanup Tool either at the URL given below or from a third-party website.
https://downloads.malwarebytes.org/file/mbam_clean
Step 2: A .exe file will be downloaded on your system. Click on this file and Run it.

Step 3: A pop-up message will open up, asking to confirm that you agree to the terms and conditions of the Malwarebytes EULA. Click Yes.
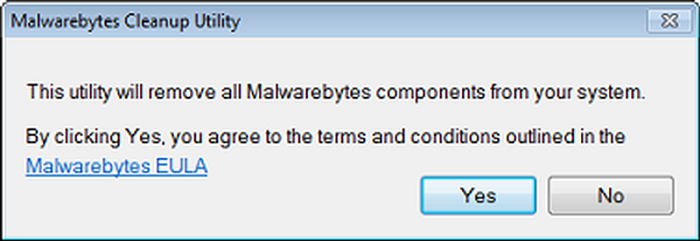
The program will go on to remove all the Malwarebytes files and folders from your system, including the Registry keys.
Step 4: Next, you’ll be prompted to Restart your computer. You can either restart right away or do it at a later time. But the uninstallation process will only be complete after you do so.
Note: The Cleanup Utility saves a text file to your desktop. This file contains the log of actions taken by the tool. You can go through this file to make sure all the files and folders were indeed removed from your system. If, for any reason, any file could not be removed, the log will highlight the issue with that particular file.
Uninstalling Malwarebytes from your Mac
If you’re a Mac user, you can follow a few simple steps to remove the Malwarebytes Anti-Malware software from your computer.
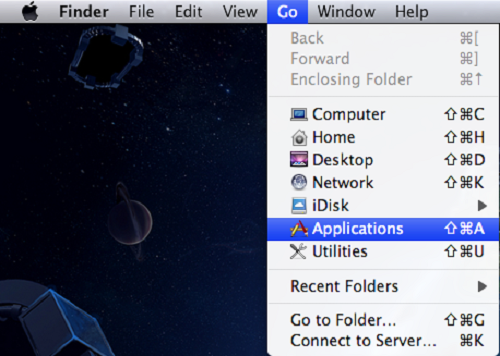
Step 1: Click Go from the menu at the top of the screen. A drop-down menu will come into view.
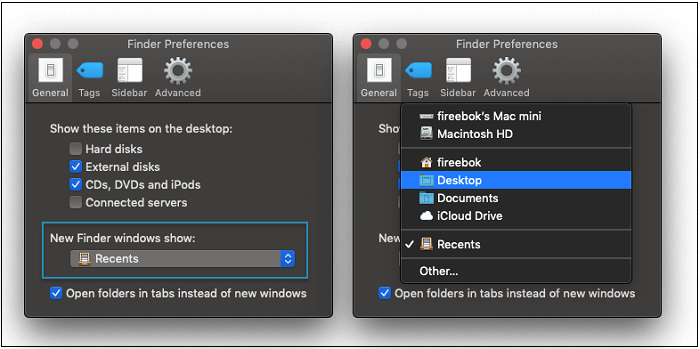
Note: If you can’t find this item on the top menu. Open Finder and click on Desktop instead.
Step 2: In the drop-down menu, go to Applications and click on it.
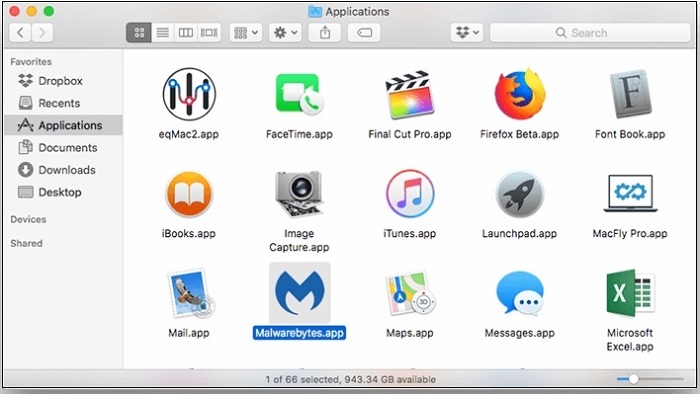
Step 3: In the Application Window, scroll down to the Malwarebytes app icon and open it.
Step 4: In the next window, click on Help from the top menu. This will open another drop-down menu.
Step 5: In this menu, you’ll find the Uninstall Malwarebytes tab. Click on it.
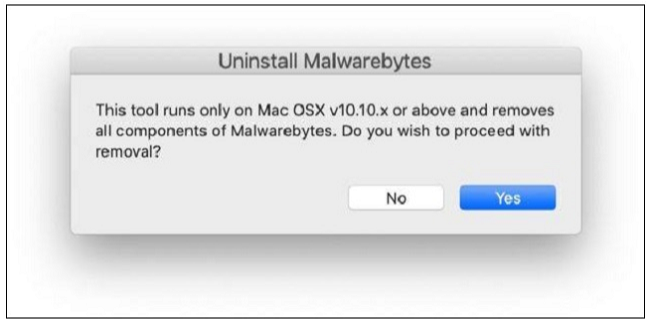
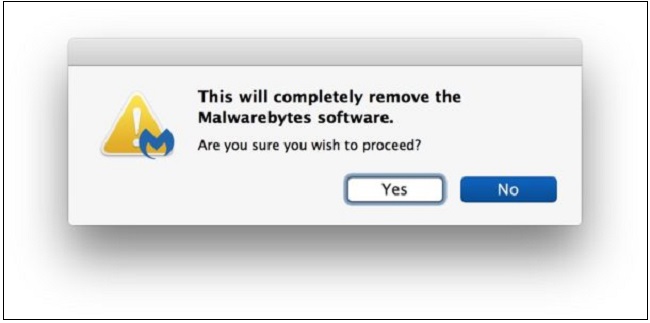
Step 6: Click Yes in the prompt message informing you that “this will completely remove the Malwarebytes software.” The Malwarebytes Uninstall program will be initiated.
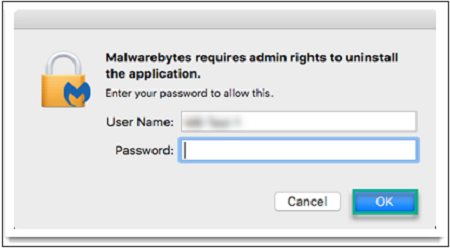
Step 7: Another pop-up message will ask for the admin password. Enter the password for your Mac’s administrator account and click OK.
Step 8: Next, the setup will start the removal of the Malwarebytes program. Once this process is finished, click on Go again.

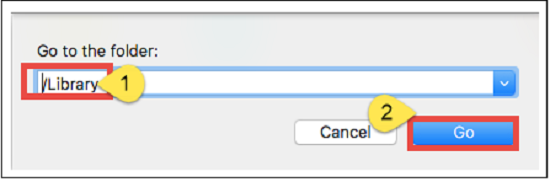
Step 9: In the drop-down menu, click on Go to Folder…
Step 10: In the small pop-up window that opens, type in ~/Library and click Go. This will open the hidden Library folder on your system.
Step 11: In the Library folder, go to the Search bar in the top right side of the window — type Malwarebytes into the search bar and hit Return.

Step 12: From the search options displayed just under the top menu, click on the Library tab.
Step 13: In the search results, select any files with ‘Malwarebytes’ in its title, click Edit and then click Move to Trash.

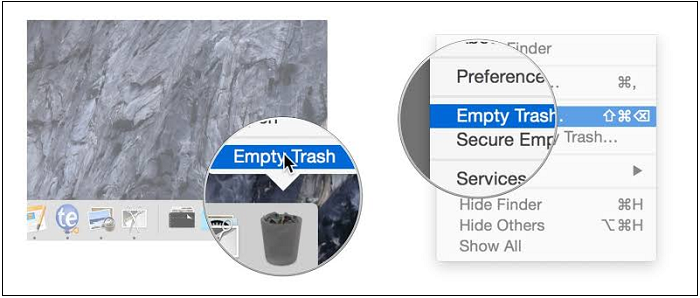
Step 14: On the Home screen, click and hold the Trash icon, a pop-up menu will appear. Click Empty Trash on it.
Step 15: Restart your Mac to complete the uninstallation process.
Malwarebytes Uninstalled
Following all these methods will remove the Malwarebytes program from your device. You can pick and choose the one you find most convenient or that suits your circumstance.
But be sure to install an upgraded version of Malwarebytes or another premium antivirus software to ensure protection from all the malware and digital threats out there.

Anas Baig is a consumer privacy advocate and cybersecurity journalist by profession. Has has more than 7 years of professional experience under his belt. Anas has been featured on numerous media publications including The Guardian, Lifehacker, The Next Web, Infosecurity Magazine, Security Boulevard, Hacker Noon, CMS Wire, IAPP, SC Magazine, and many others. His interest includes Digital Privacy Rights, Information Security, Networking, Privacy, and Data Protection.
My Contributions:
Hacker Noon | TheNextWeb | DevOps.com | GlobalSign | CMS Wire | CSO | Tech.co | Security Boulevard | ITProPortal | MuckRack | Crunchbase